How to Create a Basic Charcuterie Board: Step-by-Step Tutorial for Beginners
From basic to elaborate, charcuterie boards have become the go-to appetizer for hosts and event planners – and for good reason. Few meals feel more decadent than a platter overflowing with a selection of meats, cheeses, and spreads, accompanied by your favorite bottle of wine.
Not only do charcuterie boards make a beautiful addition to any tablescape, but they are also a tried and true crowd-pleaser. In fact, even your most picky guests will likely find something they enjoy on a well-composed charcuterie board.
But that’s not the only reason we love them! A basic charcuterie board is super easy to assemble and works for virtually any occasion.
In this post, we’ll be sharing a simple step-by-step guide to creating a basic but stunning charcuterie board that will wow your guests (And don’t worry, we’ve even got tips for making your board vegetarian-friendly.)
Let’s start with the basics.
What is a charcuterie board?
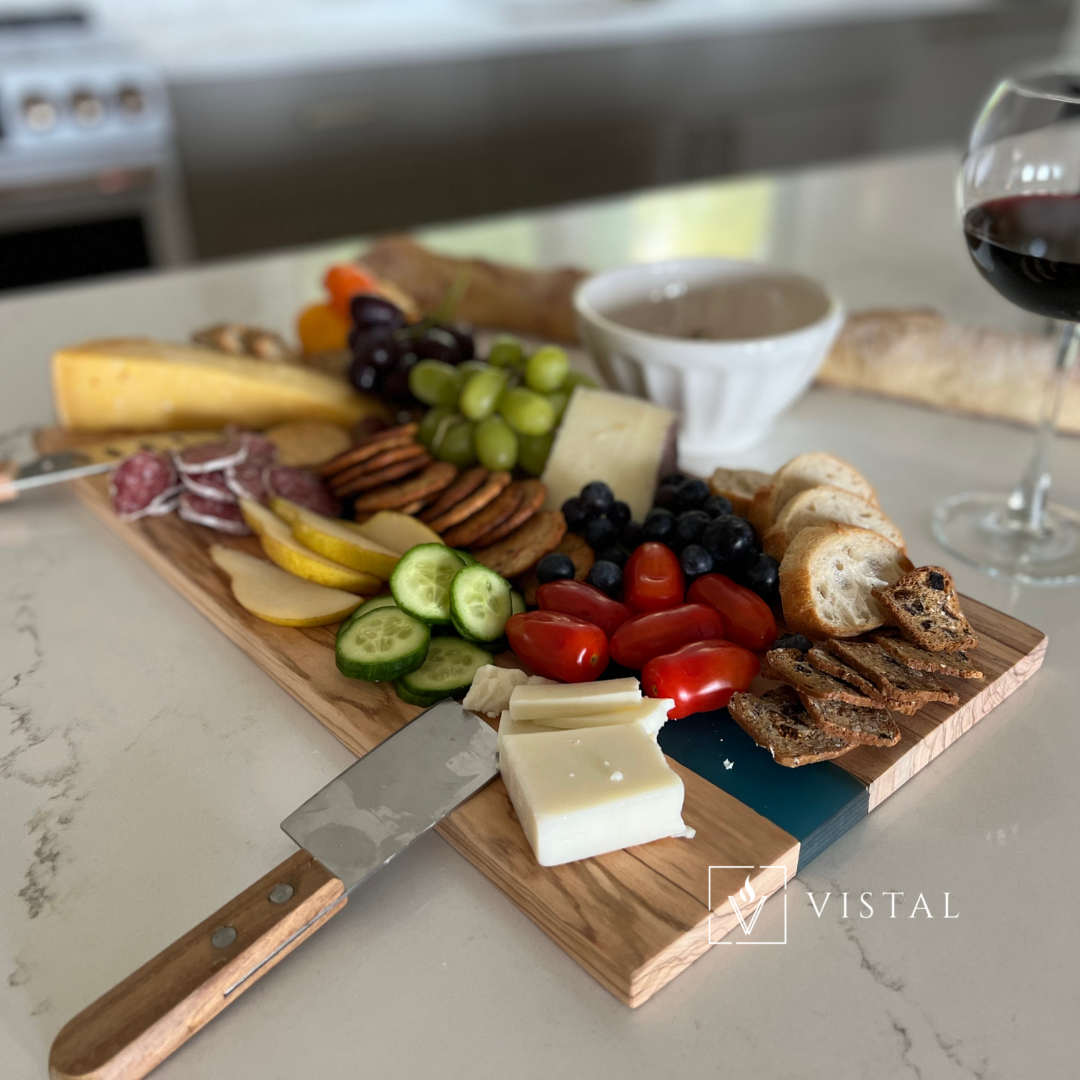
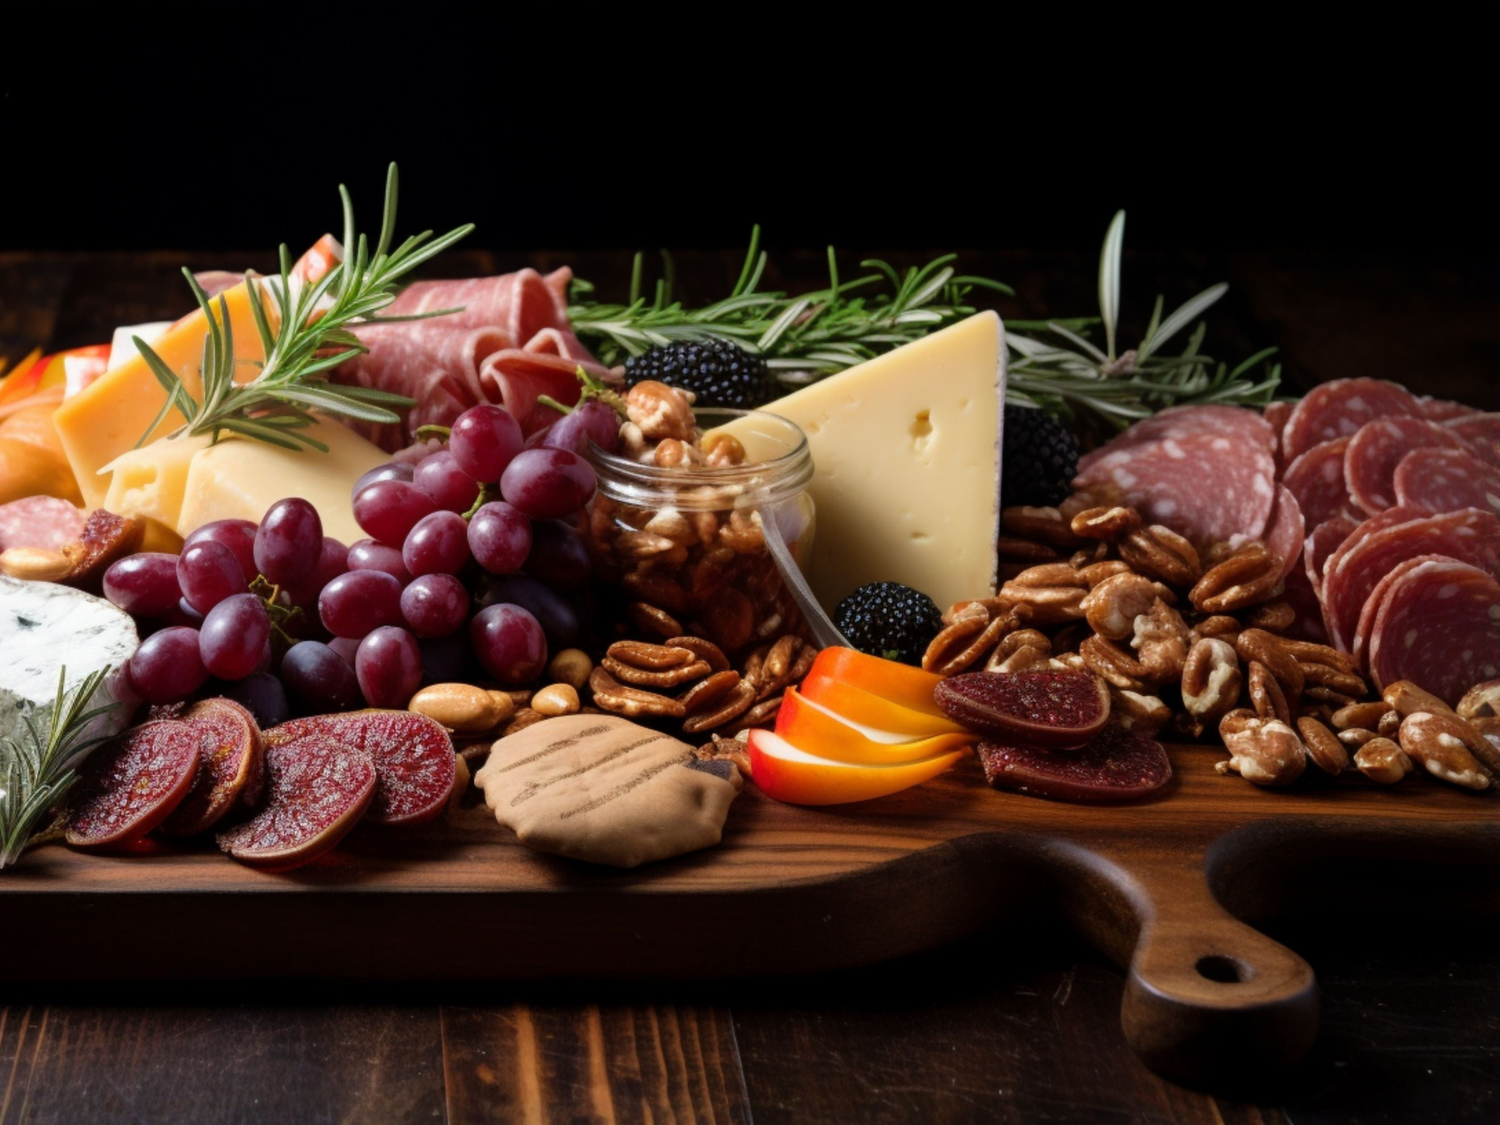
A charcuterie board is an artful arrangement of various cured meats, breads, cheeses, and other accompaniments to create a beautiful party platter. Interestingly, the term ‘charcuterie’ (pronounced shahr-ku-tuh-ree) is French for ‘shop that sells cold cooked meats.’
While they originated in France, these boards are perfect for celebrating all different types of cuisine. Modern charcuterie boards have expanded to include just about any finger food that fits the occasion. There are even breakfast boards and dessert boards. With so many tasty options, it’s hard to know where to start.
How do you start a basic charcuterie board?
What makes charcuterie boards so great is that there is no ‘right way’ to make them – you can truly get as creative as you want. If this is your first board and you’re not sure where to start, here’s a basic list of everything you need to get started (The number of options you should have depends on the number of guests and the size of your board).
- A large wooden charcuterie board
- Selection of your favorite meats and cheeses (2-5 of each)
- Spreads and dips (1-3)
- A few different types of crackers and breads (2-4)
- Fruits and vegetables (2+)
- Optional: nuts, dried fruit, olives, pickles, fresh herbs, or flowers
How do you lay out a basic charcuterie board?
We’ve created a step-by-step guide for creating the perfect charcuterie board.
Step 1: Find your inspiration
Before you start creating your charcuterie board, it’s helpful to have a vision of how you want the final board to look. This will help immensely when it comes to creating a shopping list and assembling your board. Spend a few minutes on Pinterest figuring out what aesthetic you like before planning out the ingredients.
Step 2: Plan out your ingredients
The key to creating an impressive charcuterie board is variety and contrast. You want to include a variety of colors, shapes, textures, sizes, and heights on your board. Therefore, it’s a good idea to plan out your ingredients with contrast in mind before you head to the grocery store.
You should also think about what goes well together. For example, pear and prosciutto or brie and fig are complementary pairings, which is why you often see them featured on charcuterie boards.
Get our guide to unforgettable charcuterie pairings
Step 3: Start by placing your cheeses
Once you’ve gathered your ingredients, it’s time to start mapping out your basic board. Start by placing your cheeses on the board, followed by ramekins or bowls that will hold dips, spreads, or antipasti.
You’ll be building the rest of your charcuterie board out from these elements, so place them in a way that creates balance and symmetry.
Step 4: Place your crackers next to the cheese
Create pockets of crackers next to your cheeses for ease of access. Place crackers of the same color and shape on opposite sides of your charcuterie board to keep the board looking balanced.
For a clean look, filter out broken crackers and set them aside to avoid your board looking messy.
Step 5: Arrange your meats
Next, fold your cured meats and fan them out next to your cheeses. Thin meats, like prosciutto, work well rolled or ruffled. Salami can be folded in half and then in half again to create a triangle shape. You can also take things up a notch by creating a salami rose.
Step 6: Add in fruits and vegetables
Fill any remaining gaps with cut fruit and vegetables. Avoid placing high moisture fruits and veggies, like watermelon and cucumber, next to crackers to prevent sogginess.
Step 7: Fill in any gaps
Lastly, you’ll want to fill any remaining gaps in your basic charcuterie board with dried fruit, nuts and seeds, olives, etc. Additionally, fresh herbs, like rosemary, thyme, and basil, add a nice aroma to your charcuterie board. Flowers can also be used to round out your display and give it a whimsical, seasonal feel.
And that’s all there is to it! Remember, there’s no rule book, so just have fun with it.
Tips for Basic Charcuterie
Can I make a charcuterie board the day before?
Yes, you can make your board in advance. However, we recommend leaving crackers and breads off the stored tray to avoid sogginess. Carefully cover your charcuterie board with cling wrap to prevent drying and refrigerate it until right before the event.
How do you slice cheese on a charcuterie board?
We recommend slicing your hard cheeses in small, bite-sized rectangles or triangles. For softer cheeses, like brie, we recommend a wedge shape. You don’t have to cut the entire block of cheese either. We recommend placing a bell knife next to the cheeses so that guests can serve themselves.
If you’re interested in a more detailed answer, we have a one-page guide to charcuterie knives.
What is the difference between a cheese board and a charcuterie board?
These terms can be used interchangeably, but one difference you may notice is that cheese boards always serve a selection of different cheeses, whereas charcuterie boards often also include cured meats!
How to make it vegan/vegetarian-friendly?
If you want to go fully vegan, you can find a variety of plant-based cheeses and meats, like imitation salami and pepperoni at most supermarkets.
You can also make a point of including vegan/vegetarian spreads and dips, like hummus, Tofutti, bruschetta, tapenade, etc. Finally, try to keep the meat and cheeses separate from the fruit, vegetables, and crackers to make your vegetarian guests feel more comfortable when grazing.

